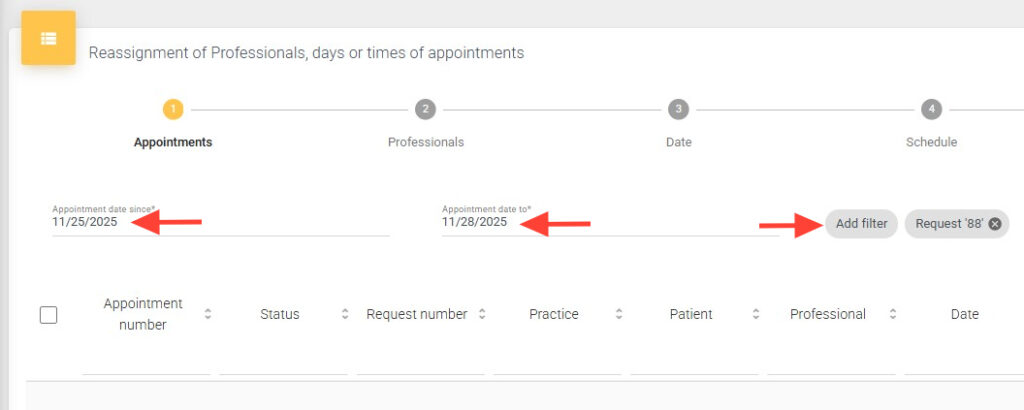
2. Within the Appointment Reassignment section, you must follow a series of steps to reassign appointments correctly. Complete the required date range fields (From/To) and, if you wish, apply optional filters such as Professional, Request, Practices, or Patient.
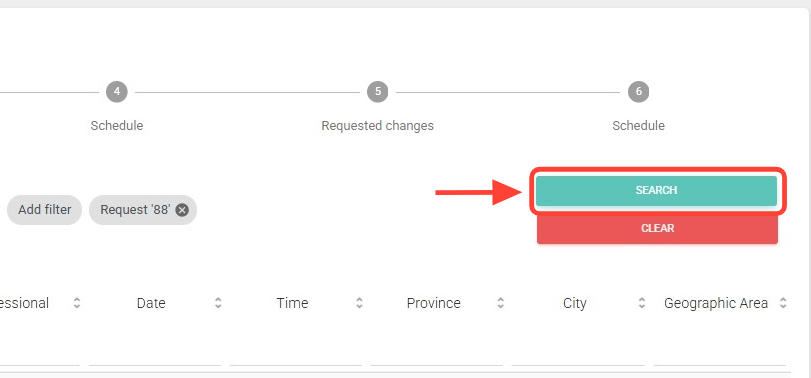
3. Then press Search.
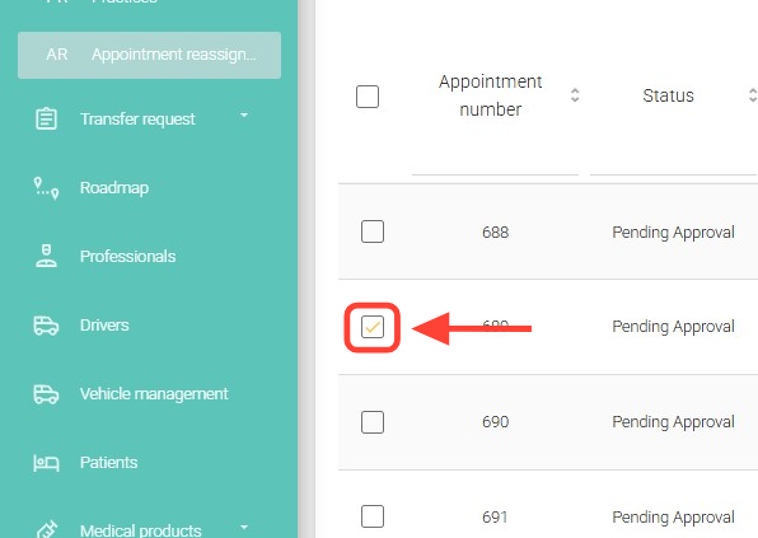
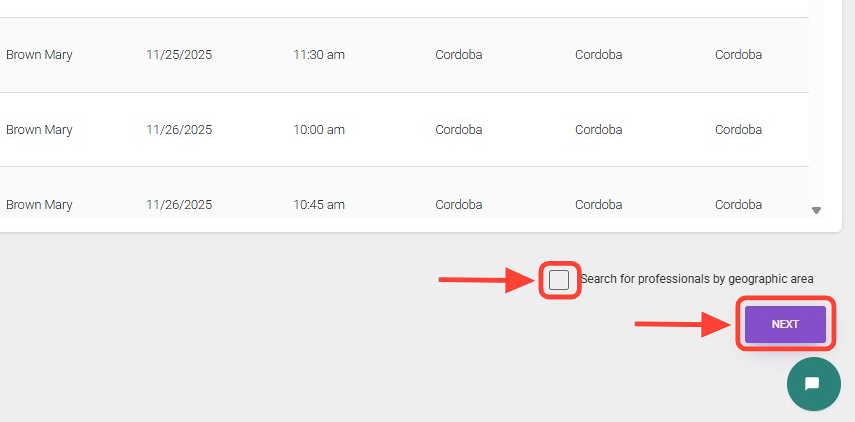
4. Select the appointment(s) you want to reassign.
5. Enable or disable the option Search professionals by geographic zone as needed, and then click Next.
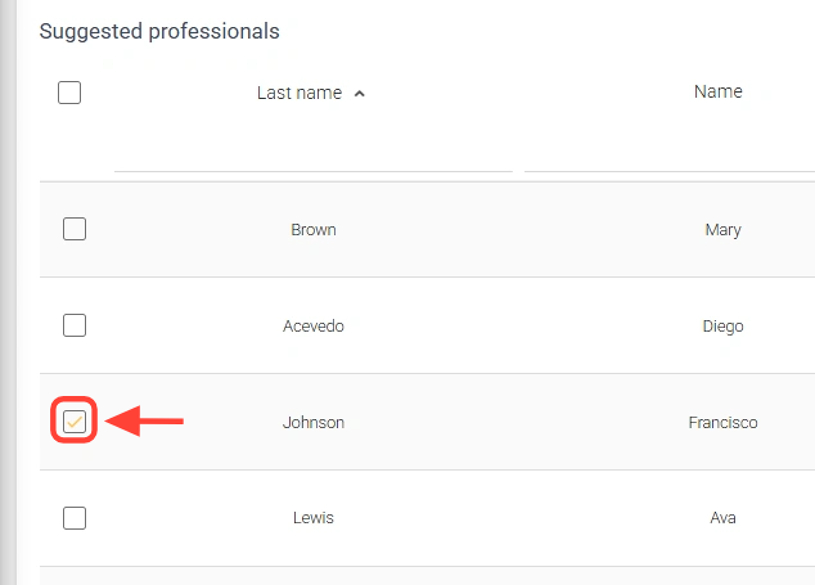
6. Choose a suggested professional or keep the original professional, depending on your preference.
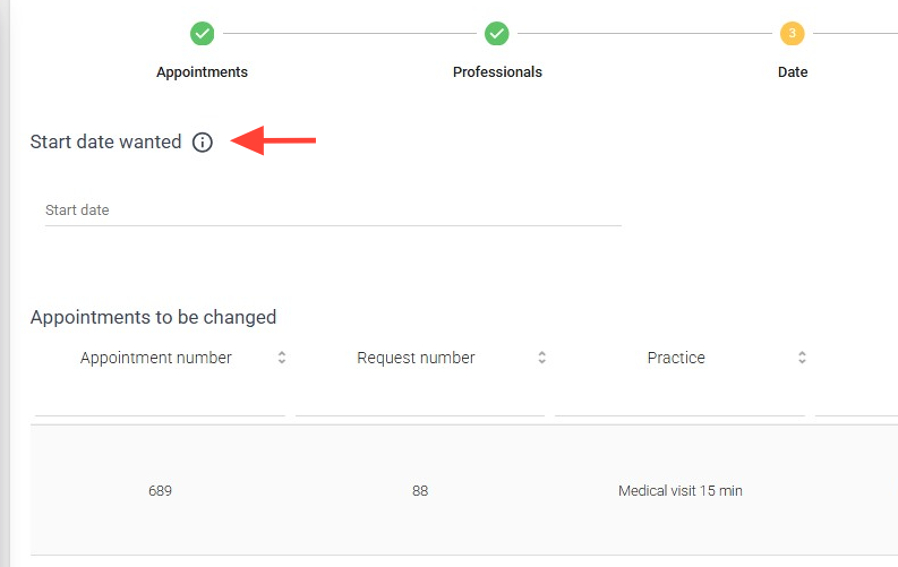
7. Change the start date of the appointments either in bulk or individually, if needed. This step is optional.
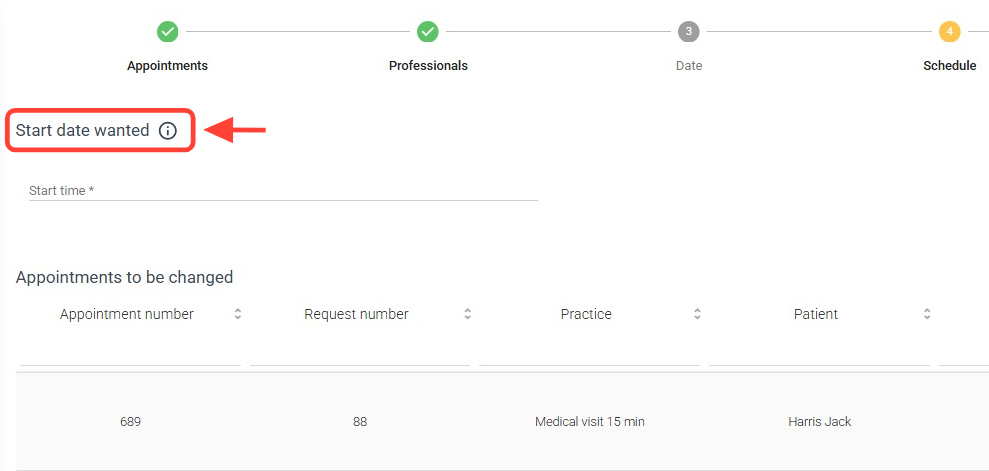
8. Adjust the appointment start time either in bulk or individually, if needed. This step is also optional.
9. Review the summary of changes and click Calculate reassignment.
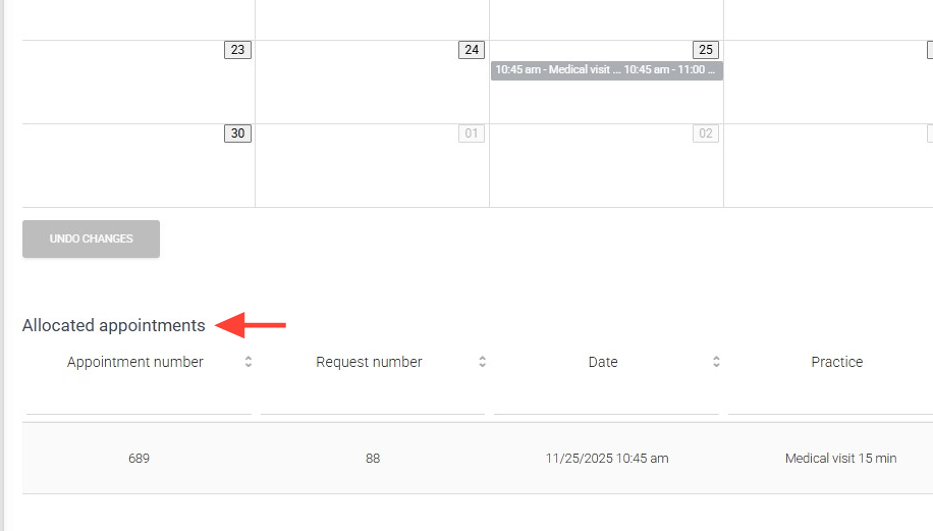
10. The schedule will display the updated appointments along with the Allocated appoitments table, indicating those that were successfully reassigned. If the Unassigned Appointments table appears, check the professional’s availability by time or day. If issues persist, select a different professional.
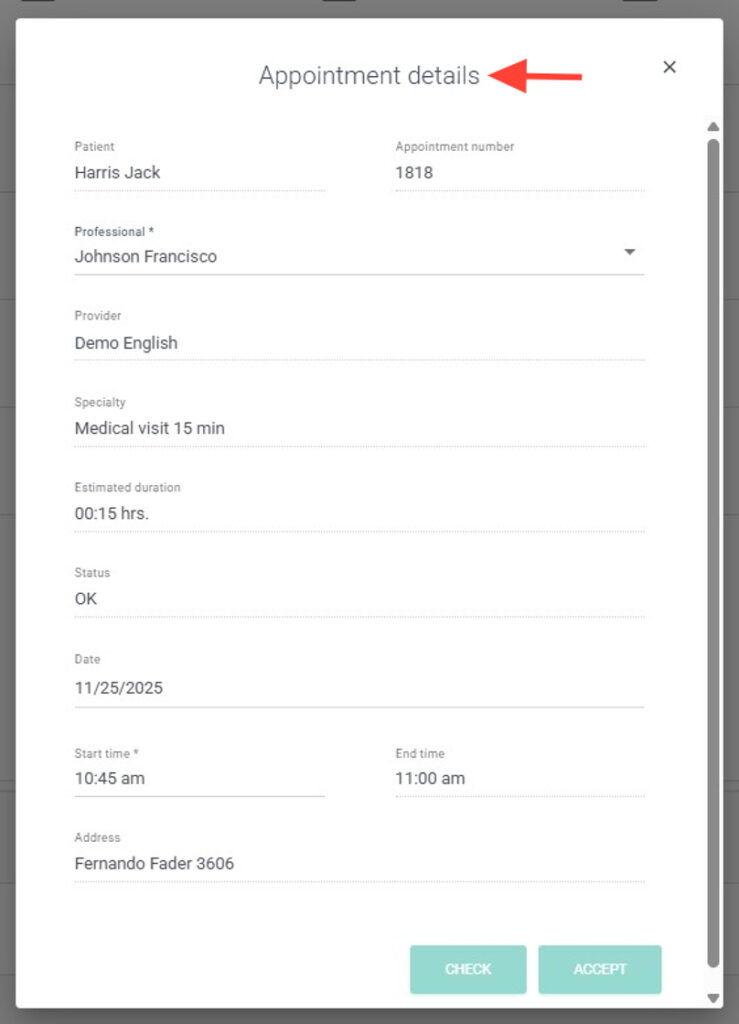
11. You can also view the details of each appointment by clicking on it directly from the calendar.
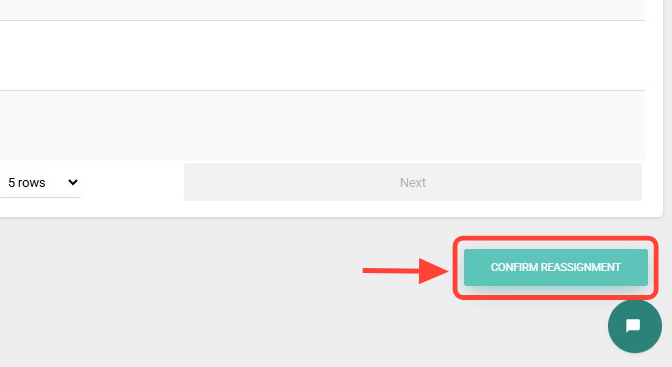
12. Finally, click Confirm reassignment.
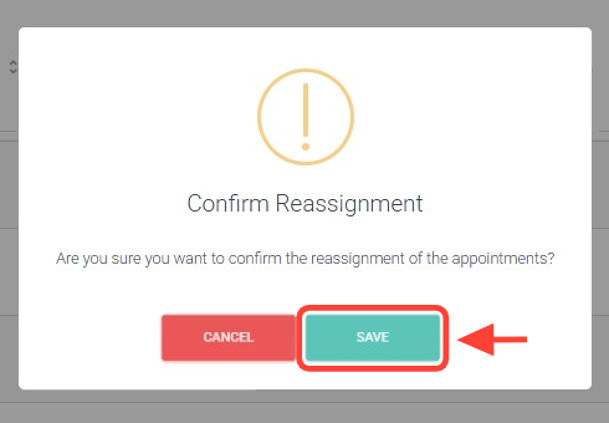
13. Then, click Save.
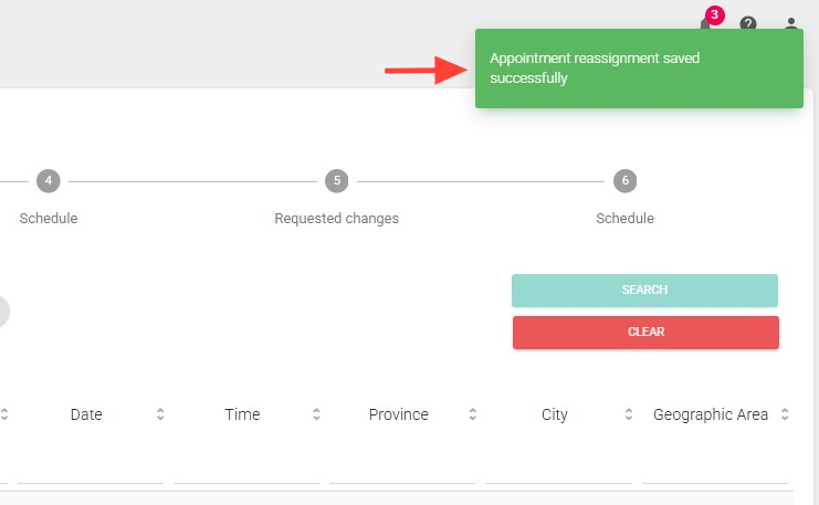
13. At the top right, you will see a notification confirming that your appointments have been successfully reassigned.